Selective Colorization
Today, I'm going to teach you how to first simply create a black and white image from a color photo, then to selectively colorize any portion of the photo. I'm not going to directly adapt a Photoshop tutorial because this is a very simple process, but if you want to find the Photoshop way of doing this, simply google "selective colorization" and you'll get about five gazillion results. For those of you keeping track, yes, this is the first Gimparoo original.
So, as I mentioned in the previous post, flickr's CC license image search tool is totally awesome, and that's where I found today's image. In the spirit of the license, I'm attributing flickr user Daniel Montesinos as the original photographer. Thank you Daniel. I will also make my finished product available with the same license provisions on my flickr page.
On with the show!
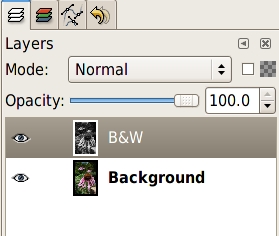
- Open your photograph in the GIMP and duplicate the background layer. Name the new layer B&W or something descriptive like that.
- Click on Layer>Color>Desaturate. This will make the layer appear black and white even though it's still in RGB. That's not terribly important for this tutorial, but it can be if you're wanting to do some more advanced blending. But that's a topic for another day.
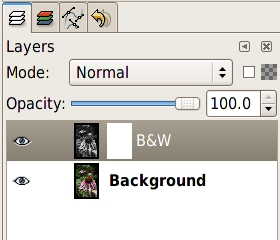
- Right click your B&W layer and click Add layer mask
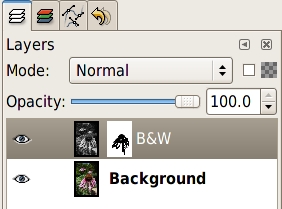
- With a soft brush selected and set to black, start painting inside the area you want to reveal. In our case, the flower petals and leaves and stem of the center flower. Zoom way in (Shift++) to get the tiny little hairs. Notice the layer mask will have a black and white thumbnail of the areas you're painting.
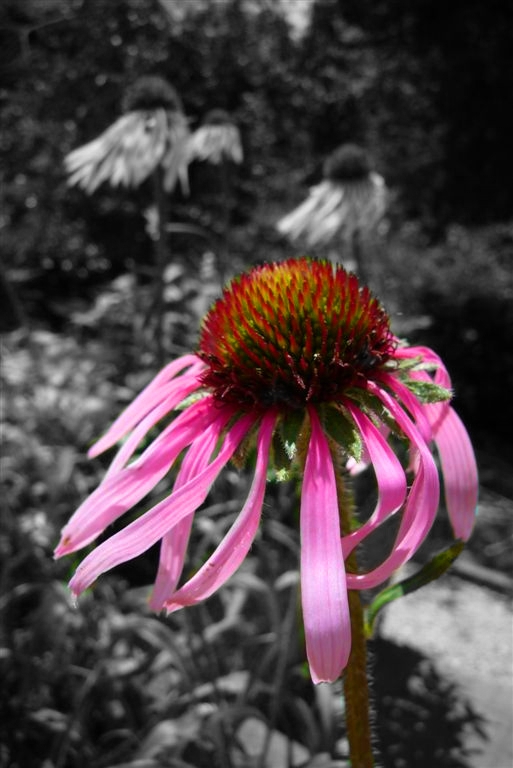
- Once you've got the area you want colorized revealed, you may want to play with the color a little. I increased the saturation of the color layer in order to make it stand out a little more. Here's the final revision:
Now you are all set to begin colorizing an area. What you're going to do is paint black over the masked area to reveal the color layer beneath. I use a Wacom tablet for this which I find infinitely more usable than a mouse since I can use the pressure sensitivity to do neat things like change the diameter or hardness of the brush dynamically, but it's not that hard with a mouse either. Onward!
Thank you for following along today. Stick around for more photo retouching and editing. I'll try to pick something a little more in depth for the next topic.


1 comment:
These days,Buy rs gold Let me teach you tips on how to first just develop a non colored documents picture from your coloration image, subsequently to be able to precisely Cheapest Diablo 3 goldcolorize virtually any area of the image.
Post a Comment