Adapting Web 2.0 Design: Part 2
Last time we adapted the first part of Tommy Maloney's Web 2.0 Design Kit, and today we're continuing with the second half. The original adaptation can be found here: Web 2.0 Design Kit, Part 2. I found what I believe to be a mistake in the original diagonal line tutorial. He says to make a 7x7 pixel selection but I could not get the diagonal lines to line up like that. I even tried it out in Photoshop just to make sure it wasn't something to do with the application, but still couldn't get it to line up properly. I ended up modifying my instructions so that they work. If anyone knows what I'm doing wrong, I'd love to know. Anyway, on with the tutorial!
Diagonal Lines
Before we get started, I want you to go find out where your copy of GIMP stores patterns. Do this by clicking File>Preferences... In the Preferences dialog, expand the "Folders" list and click "Patterns". In the right-hand pane, you should see some folder paths listed. At least one of these should be checked "Writable". Make note of this folder. Whenever I tell you to save a pattern, this is where you're going to save it. So, let's get started.
- Open a new 3x3 pixel, transparent document and zoom way in so you can see it.
- Select the Pencil tool and set the tip to Circle (01). Click in the upper-right, center and lower-left pixel areas so you have something like this:
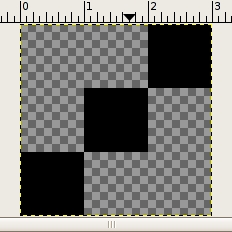
- Unlike Photoshop, you don't have to define a pattern in GIMP, you can just save the file as a .pat file in the patterns folder you discovered at the beginning, so do that now. In the description, you may want to preface the text with "aa" or "11" so that the pattern will appear at the top of the list in the Patterns dialog. Once you've got your pattern saved, go to the Patterns dialog, and click the refresh button. Your pattern should be listed now.
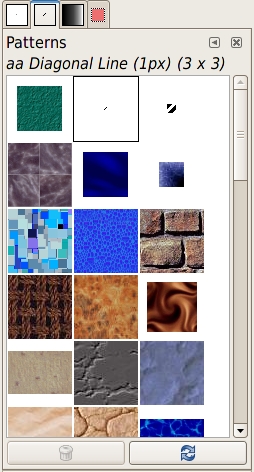
- A variety of GIMP tools can use patterns. Used with the bucket tool, you can fill whole areas with the new pattern.
Now on to the thicker lines. This is the part I think I found a mistake in. I'm going to just show how I got it to work.
- Open a new 12x12 pixel, transparent document and zoom in.
- Grab the pen tool. Click one time just outside the top right and again just outside the lower left corners. This will create a diagonal path across the drawing area. I've made the background white in this example just so you can see the path.
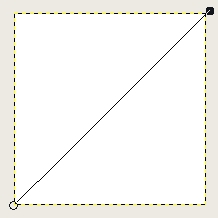
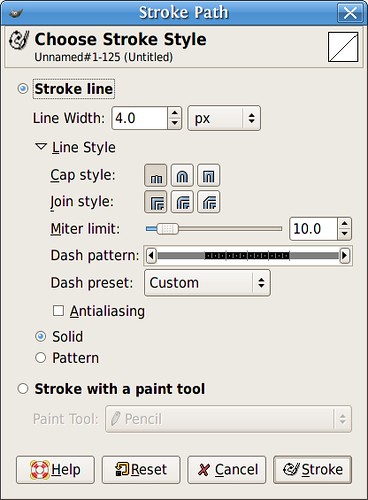
- In the "Paths" dialog, click the "Stroke path..." button. Set the line width to 4 pixels and uncheck the Antialiasing checkbox. Click "Stroke" to stroke the path.
- Now here's the part that confused me. If you look at the example pictures that Tommy gives, he actually has a 9x9 pixel area selected (not 7x7). Further, once he copies his selection and moves it, you can clearly see that the new pasted area is actually 5 pixels diagonally. The only way I could recreate his end result is first by selecting a 9 pixel wide by 10 pixel high area. Then I copied and pasted that into a new layer, and moved that layer up to the corner. This is the end result:
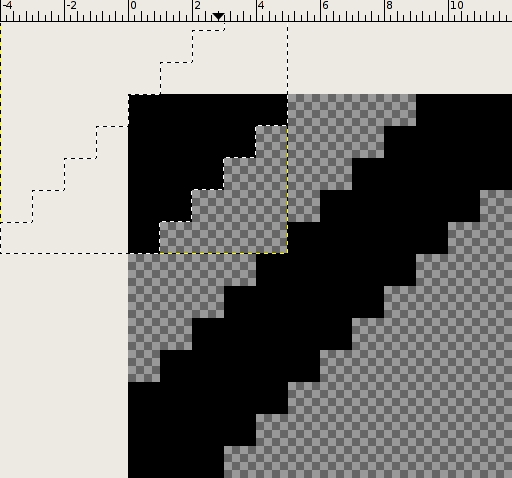
- Now, select the crop tool. Set the X and Y origins to 0 and the width and height to 9 and click "Crop".
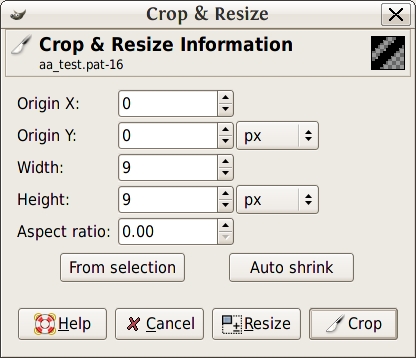
- Save this as a .pat file in your patterns folder, reload your patterns, and you're ready to use it. Here's yesterdays example with the new, thicker stripe pattern applied to a new layer under the "Shadow" layer at 30% opacity:

Rounded Corners
Wow! I just realized I did not complete this tutorial. Okay anyway, I think the method he uses to create rounded corners is just too excessive anyway. He claims you can get better control of the rounding, but I just don't believe it. Maybe Photoshop just doesn't let you select the radius you want or something? I don't know. You can easily create round cornered selections in the GIMP using the selection tool. Just choose the rectangular marquee, make your selection, then click Select>Rounded corners. Choose the radius you want, and voila! You have rounded corners. Easy breezy.


1 comment:
Grab the pen Buy rs goldapplication. Simply click just once only beyond the best suitable and yet again just outside the decrease left corners. This will likely create a angled course across the sketching region. We've produced the backdrop whitened in this particular exampleCheapest Diablo 3 gold just so you will notice the route.
Post a Comment